Growing up, my favorite kind of "bad for you" snack was anything cheese-flavored and Cheez-its of course fell into that category. As a kid society, as I knew it then, really didn't emphasize how bad the ingredients found in these types of snack are for you. As an adult, I still like Cheez-its BUT I do not like the 60+ ingredients (in which half of them are laboratory fabricated and unpronounceable) which is why I won't eat them anymore. Yes, I actually counted the ingredients listed on the side of the box and I lost count and gave up at 60. You can imagine my joy when I came across this recipe from BHG on how to make my own Cheez-its! Chances are, you have the ingredients (butter, flour, salt, cheese, water) in your kitchen already. So what is keeping you from enjoying a homemade version of the childhood snack that we all love? Just 5 REAL ingredients! If you do not like yellow cheddar you can experiment with other cheeses, like white cheddar, mozzarella or gouda. You could even use wheat flour too.
Oh, you're probably wondering how these taste? My husband said, "WOW, these taste just like Cheez-its but slightly different, that's amazing. They're GOOD!" He then proceeded to eat half of the tray. He can be a man of few words sometimes. They taste almost like the packaged Cheez-its. Why doesn't it taste exactly the same? Simple. The difference in flavor of the homemade version is the lack of chemicals and preservatives from the packaged version. Every puffy crispy cracker will impart the same feel-good comfort as did the cheesy nostalgic snack but it will not impart into you all the unpronounceable chemicals.


Add butter, shredded cheese and salt and turn your mixer on low.

It will look like this when mixed.

Turn mixer off and add flour. Turn the mixer on low and you will notice that the mixture will resemble a crumble topping (pebbles). Turn the mixer off and scrape down the sides.

Turn the mixer back on low and add the ice water. The ice water will hold everything together and you'll see that the dough has "cleaned" the sides of the bow.

Place the dough on a plastic wrap and cover and keep in the fridge for one hour

I actually left mine overnight. If you leave it overnight, make sure to remove it and let it come to room temp before working with it.

Divide the dough in half. While you are working with half the dough, put the other half back in the plastic wrap.

Roll the dough out. It will be very hard to get a nice 10 x 12 rectangle with frayed edges like this so then it hit me...

...cut the frayed sides and put them back on top of the dough and roll it out.

Now you have an almost nice 10 x 12 rectangle. I used a silicone mat with measurements in inches along the sides. I need all the help I can get!

Use a fluted pastry cutter if you have one. It will give that curly edged look to that classic snack we all love. If you don't have one, you can use a pizza cutter.

Cut 1" strips vertically and horizontally so that you end up with approx 1" sized crackers.

Place them on your lined baking sheet giving a little room for expansion

If you like, poke a hole in the center with a toothpick so that it resembles that classic snack. This step is optional. Note to self: the hole will need to be made bigger if you want it to resembled the "real thing"

Sprinkle with a little sea salt (forgot to show this step) and place in a 375 F preheated oven and bake for 13-16 min.

They will be golden. They can turn golden to burnt very quickly.

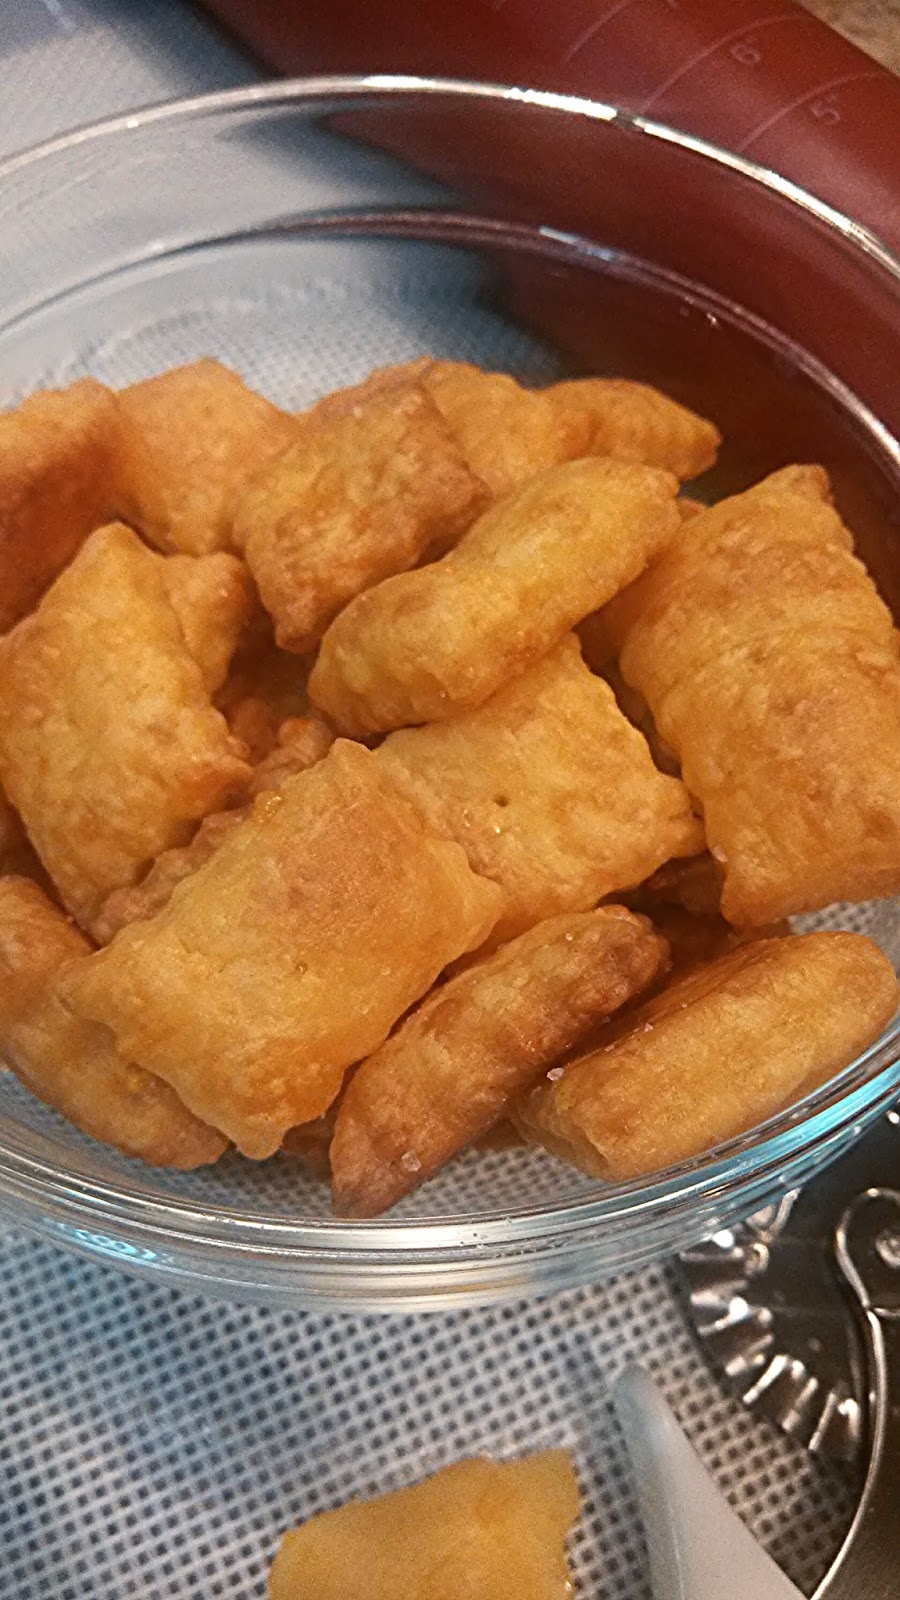
A closer view after they are done baking.
We (hubby and I) ended up eating half of them before taking the following pictures.


There you have it, the homemade version of the famous Cheez-It cracker without the unpronounceable and indiscernible chemical ingredients.

Makes almost 200 crackers (depending on size)
8 oz sharp cheddar cheese, shredded
1/2 stick salted* butter at room temp (4 tbsp)
1/2 tsp kosher salt
1 cup all purpose flour
2 tbsp ice water
In the bowl of your stand mixer, add the shredded cheese, butter, salt. With the paddle attachment, mix on low speed these ingredients together until you get a mass that sticks together.
Turn the mixer off and add the flour. Turn on the mixer again on low speed. You will notice that this mixture will now resemble pebbles or a crumb topping. Turn the mixer off and scrap down anything you see from the sides of the bowl. Turn it on again at low speed and add 2 tbsp of ice cold water. The ice cold water will turn this mixture into one nice cohesive mass and "clean" sides of the bowl.
Put this mixture in a plastic wrap and shape into an oval "disk" if you can. Put in the fridge for one hour so that the flour is rehydrated. If you leave it overnight (as I did), take it out and let it come to a temp slightly colder than room temp before working with it.
Preheat your oven to 375 F. Line a baking sheet (approx 18" x 13") with parchment paper or a silicone making mat. Divide the dough half and put the half that you are not working with back in the plastic wrap and set aside. Working with half of the dough, roll it out into a rectangle measuring 10" x 12".
Using a pizza cutter, cut the dough into 1" squares. You can use a fluted pastry cutter for a wavy cut that resembles the nostalgic snack (the same cutter used to cut ravioli).
Place on the lined baking sheet leaving a little bit of room in between each cracker for a slight expansion. Sprinkle with a little sea salt. Bake for 13-16 min. The bake time will vary depending on the oven. My oven had these done in 13 min. You will know they are done when they are golden brown. If they are not golden by 13 min, add one min and carefully watch it. They can go from golden to burnt very quickly!
Remove immediately onto a cool surface so that they can cool. A rack would be ideal. If they are piled on each other while warm, they will turn soggy so it is important to give them plenty of ventilation during the cooling process. Store in an airtight container, that is, if they are not eaten the same day!
*NOTE: if using unsalted butter, increase the salt to 1 tsp.
No comments:
Post a Comment